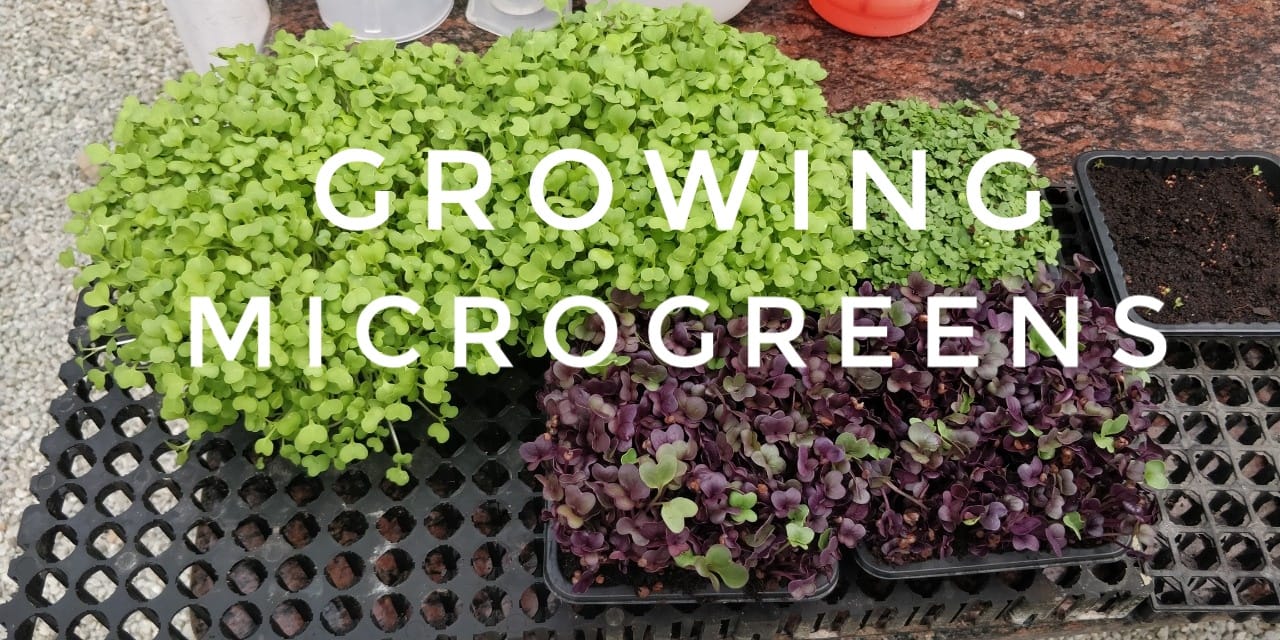
Microgreens are everywhere these days. You see them in the toppings, in the garnishes and hey also in your friend’s […]
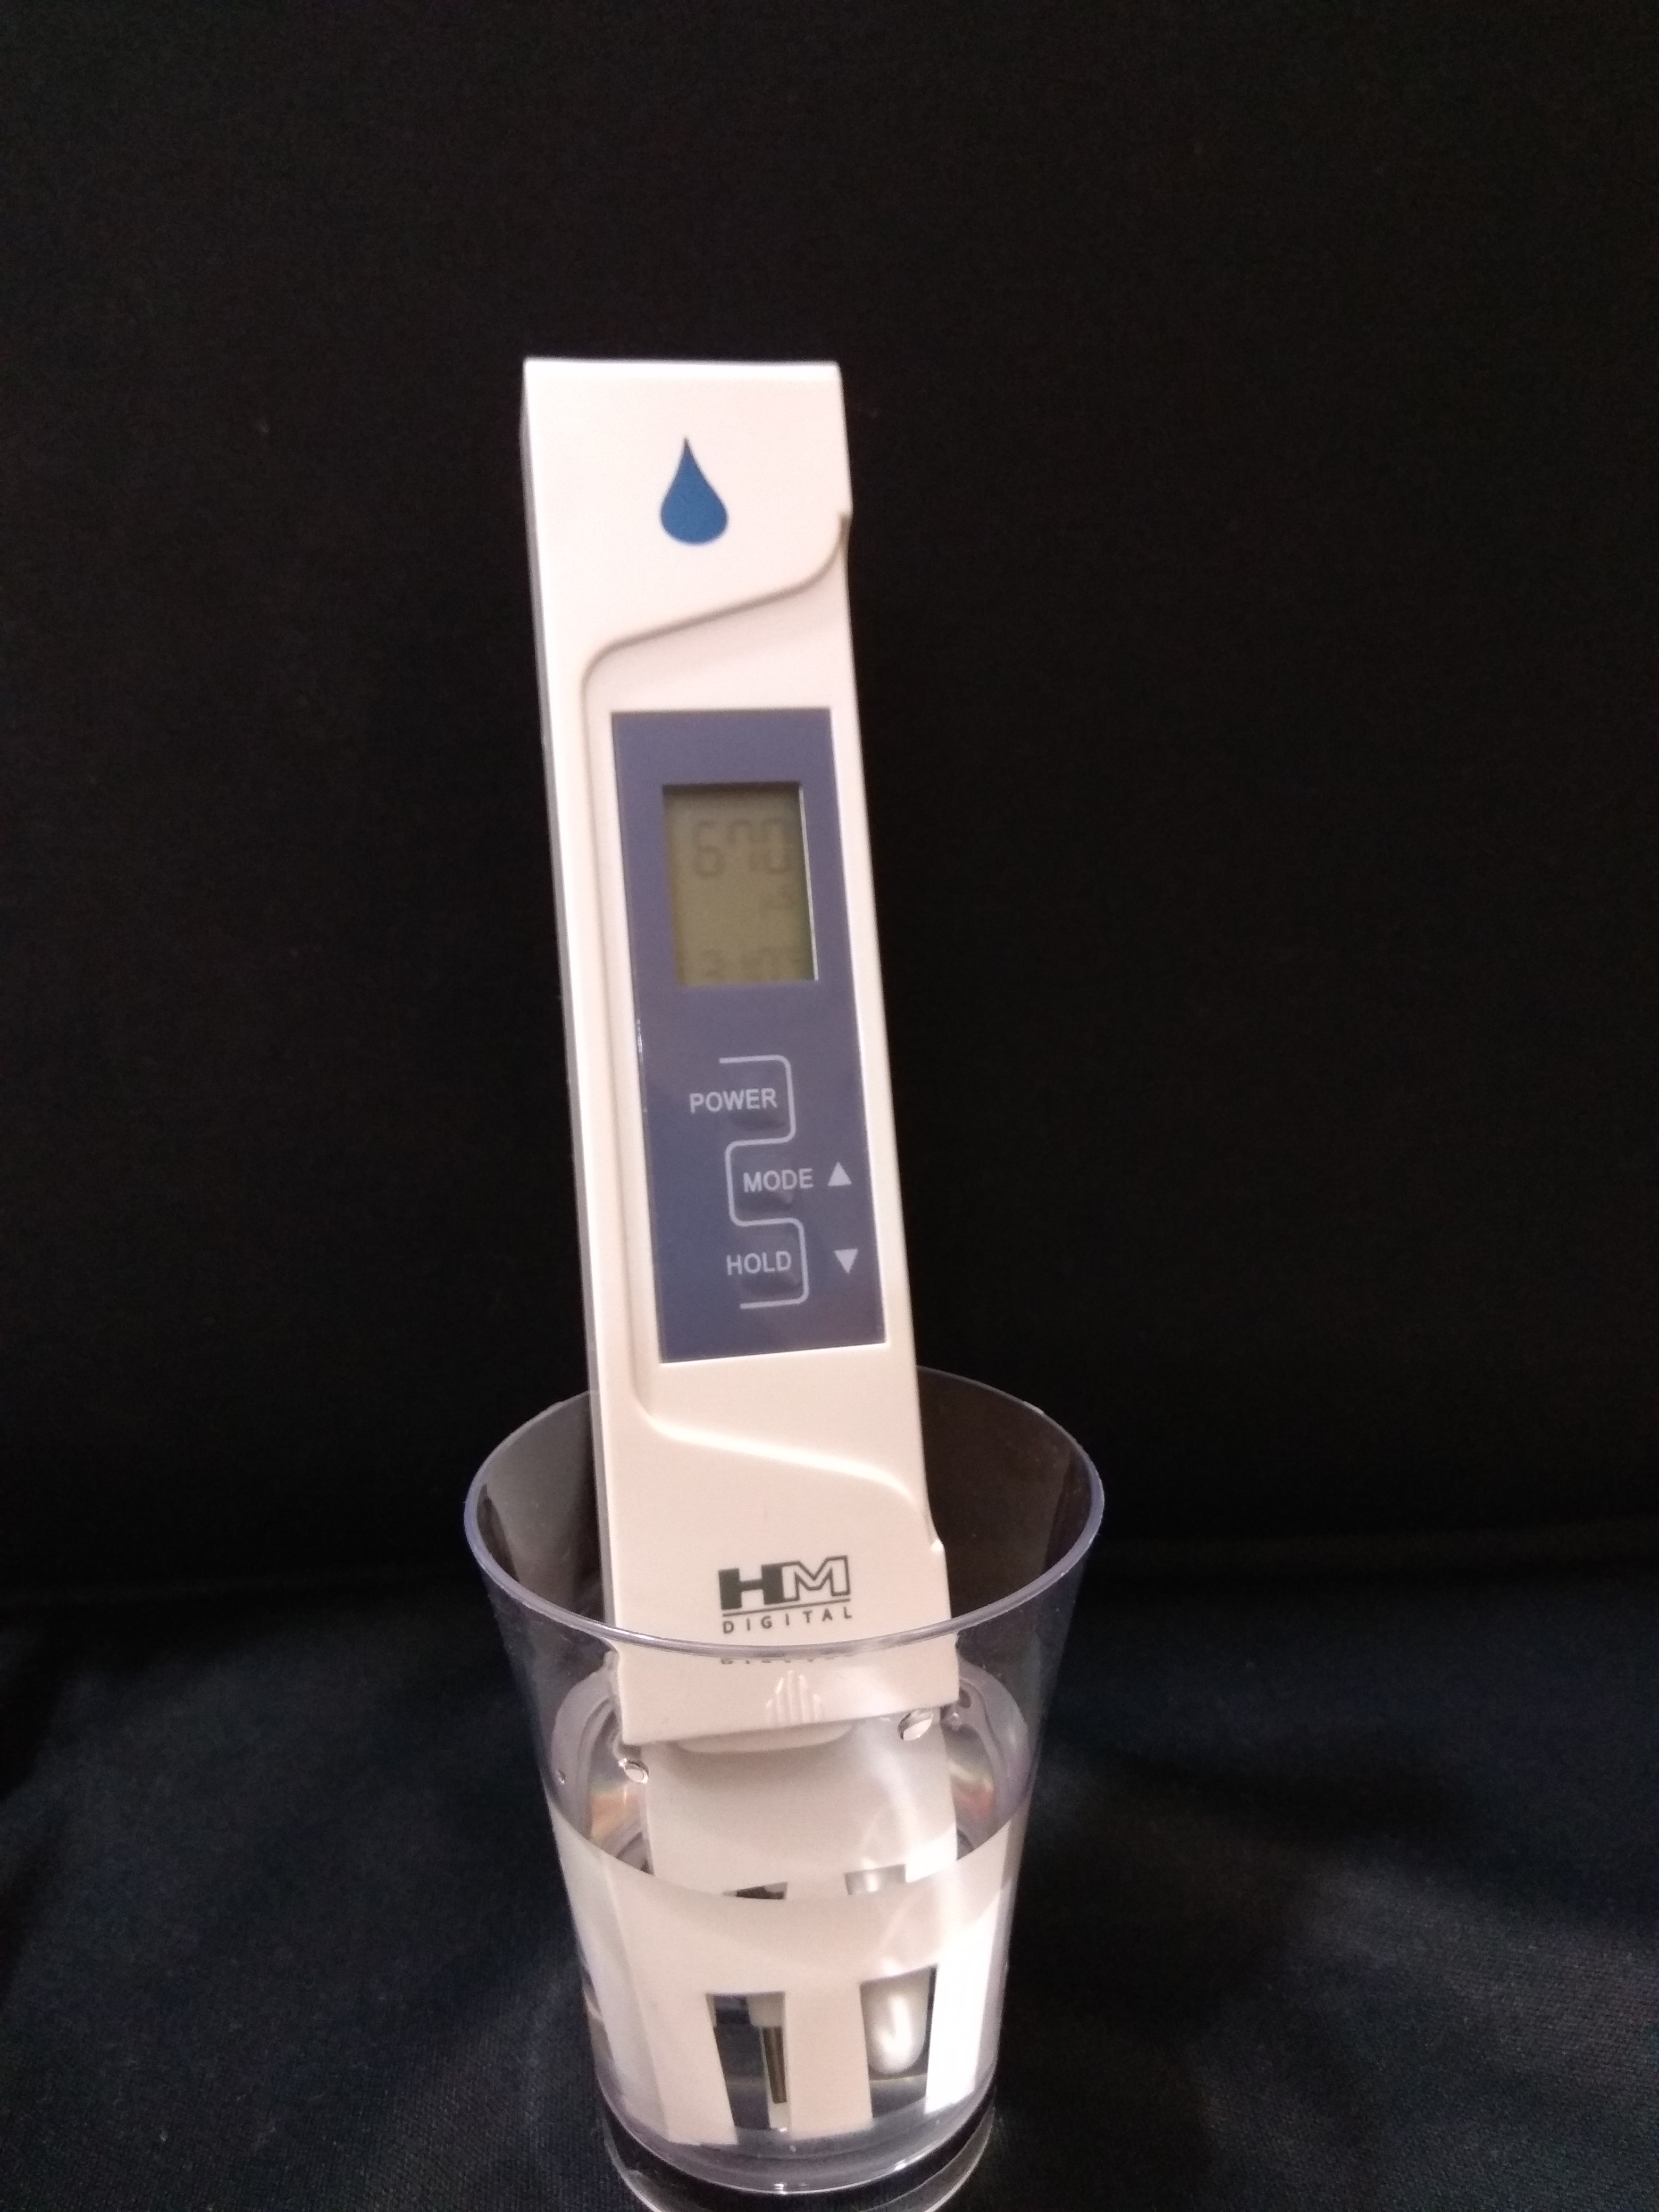
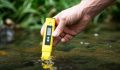
TDS vs EC meter – Which one to buy? If you are a beginner in Hydroponics, it is certain, at […]
I am sure this happens many times in our lives. You go to a nursery or a garden center and […]
I have been taking cuttings from coleus several times and Here in this HOWTO I am going to explain how […]


Recent Comments