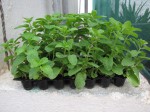
How to grow Mint from cuttings. In most of my posts/comments, I recommend people to start with plants such as mint […]
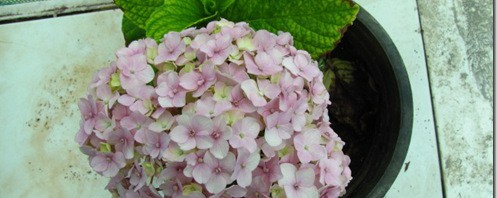
Hydrangea Propagation – How To Propagate Hydrangeas From Cuttings Hydrangea is not quite common here in Bangalore. Very few people […]
Ok, Not exactly a greenhouse, but a poor man’s propagation chamber or a cold frame. what ever you want to […]
Nothing like watching your stem cuttings root 😉 Yes the results are out!. I had a peek at the mini-green […]
I have been taking cuttings from coleus several times and Here in this HOWTO I am going to explain how […]


Recent Comments