GROWING GUIDES
From sowing till harvesting, you can find guides for every step of your gardening adventure. Be it Hydroponics, Aeroponics or conventional Urban farming, we have you covered!
Consulting and Turnkey Projects
Looking to start a business in Hydroponics or a commercial farm? We have the expertise to guide you at every step in your decision making. We offer turnkey solutions for setting up farms. Talk to us.
ONLINE STORE
Getting hold of right input at the right time is the key to success in gardening. Seeds, Hydroponics Nutrients and Ready to Use DIY Hydroponics Kits. We have them all here under one roof
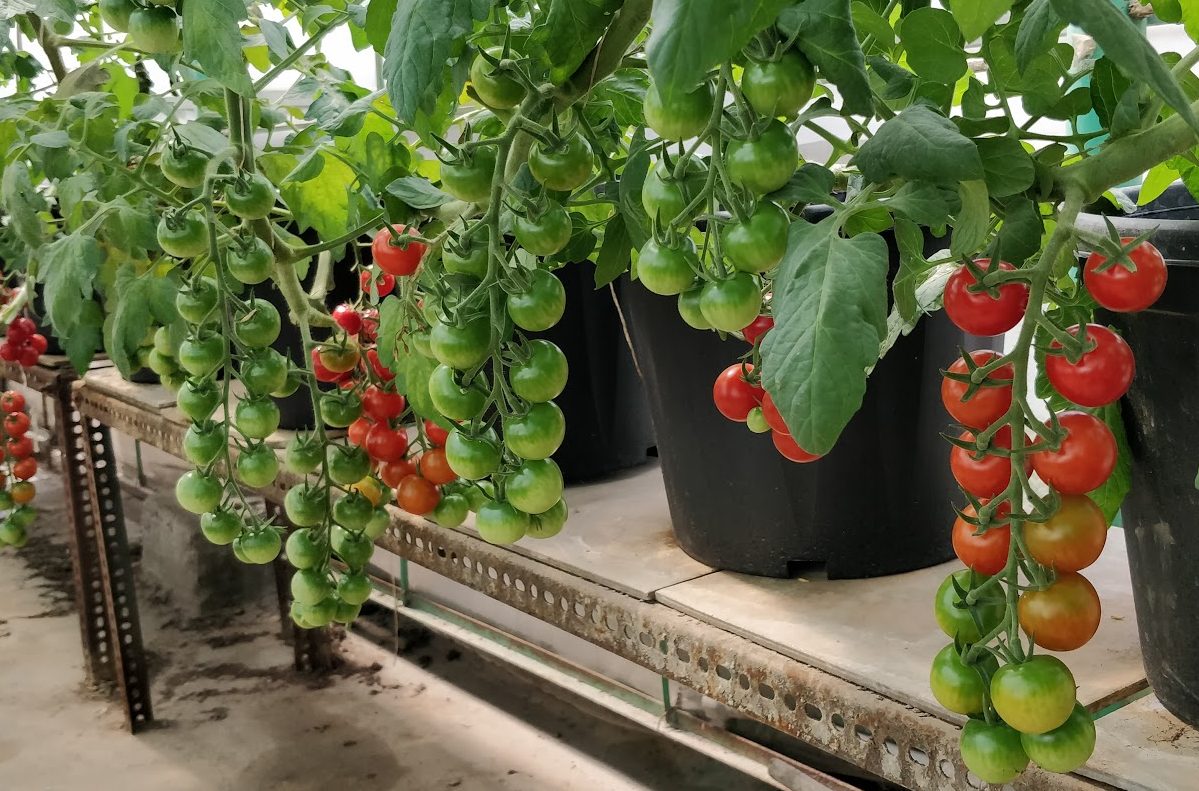
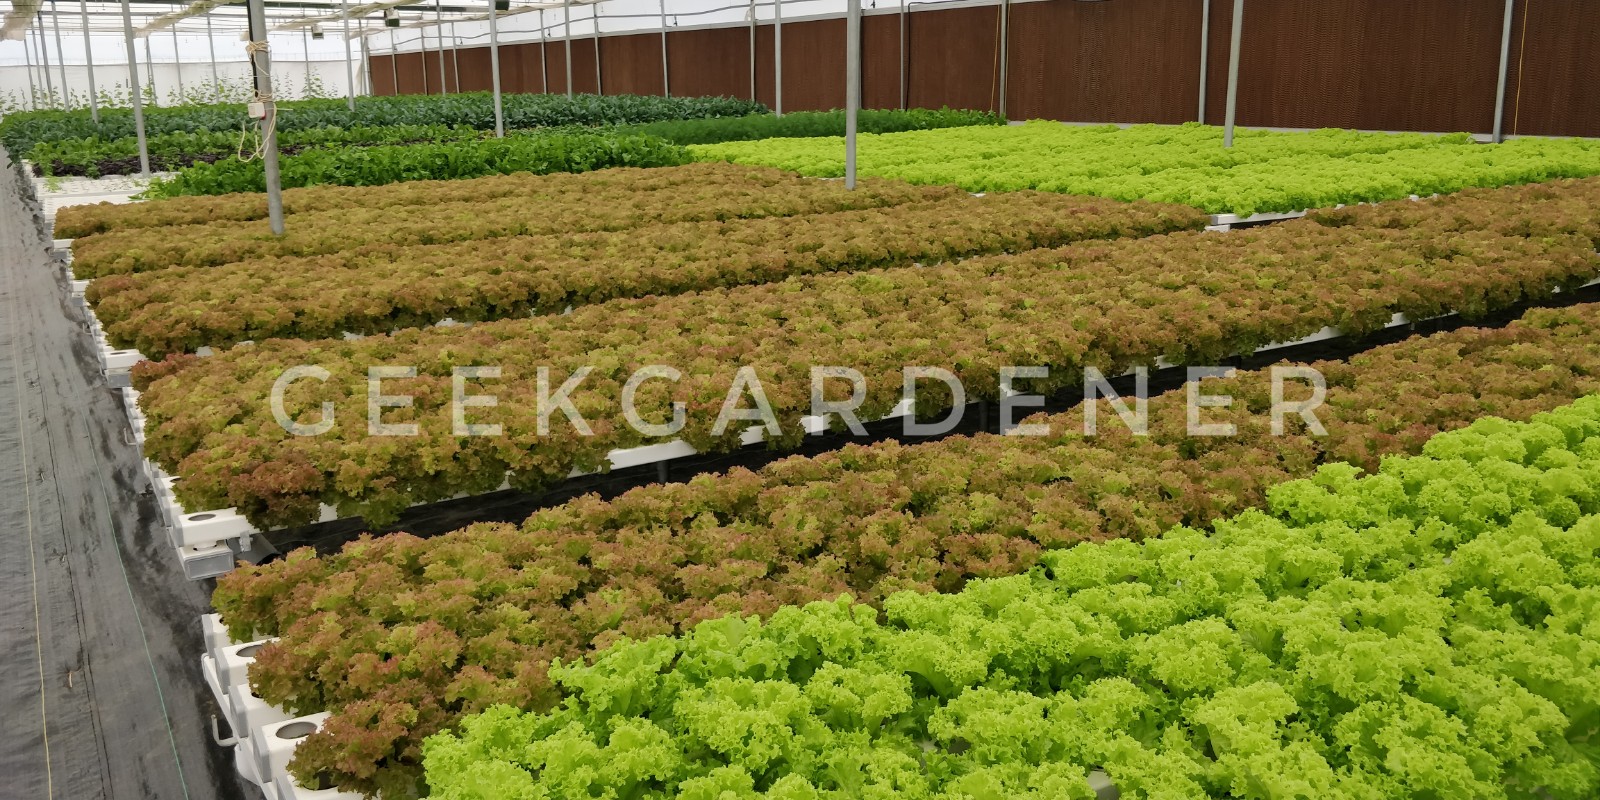
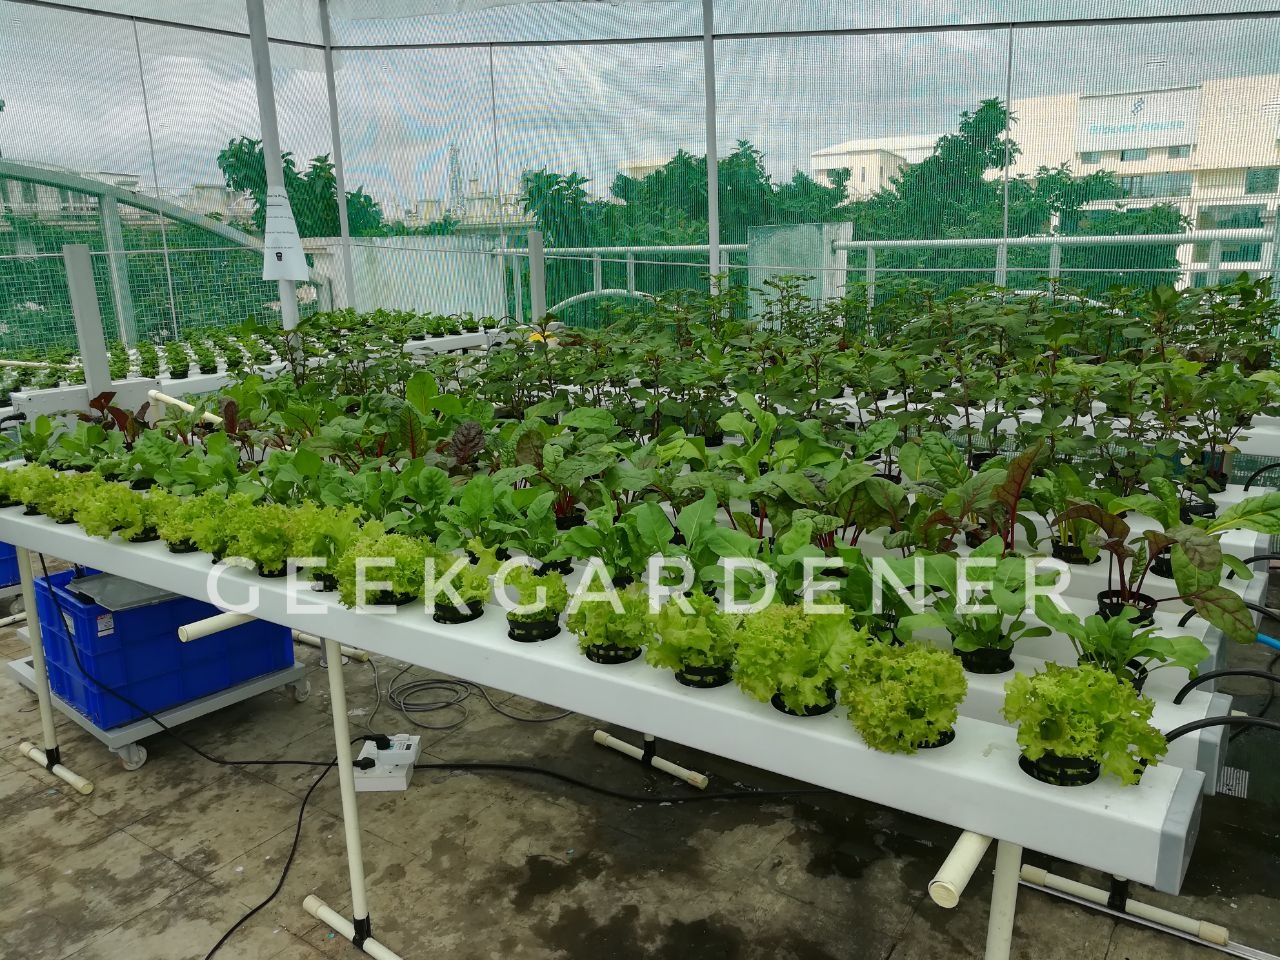
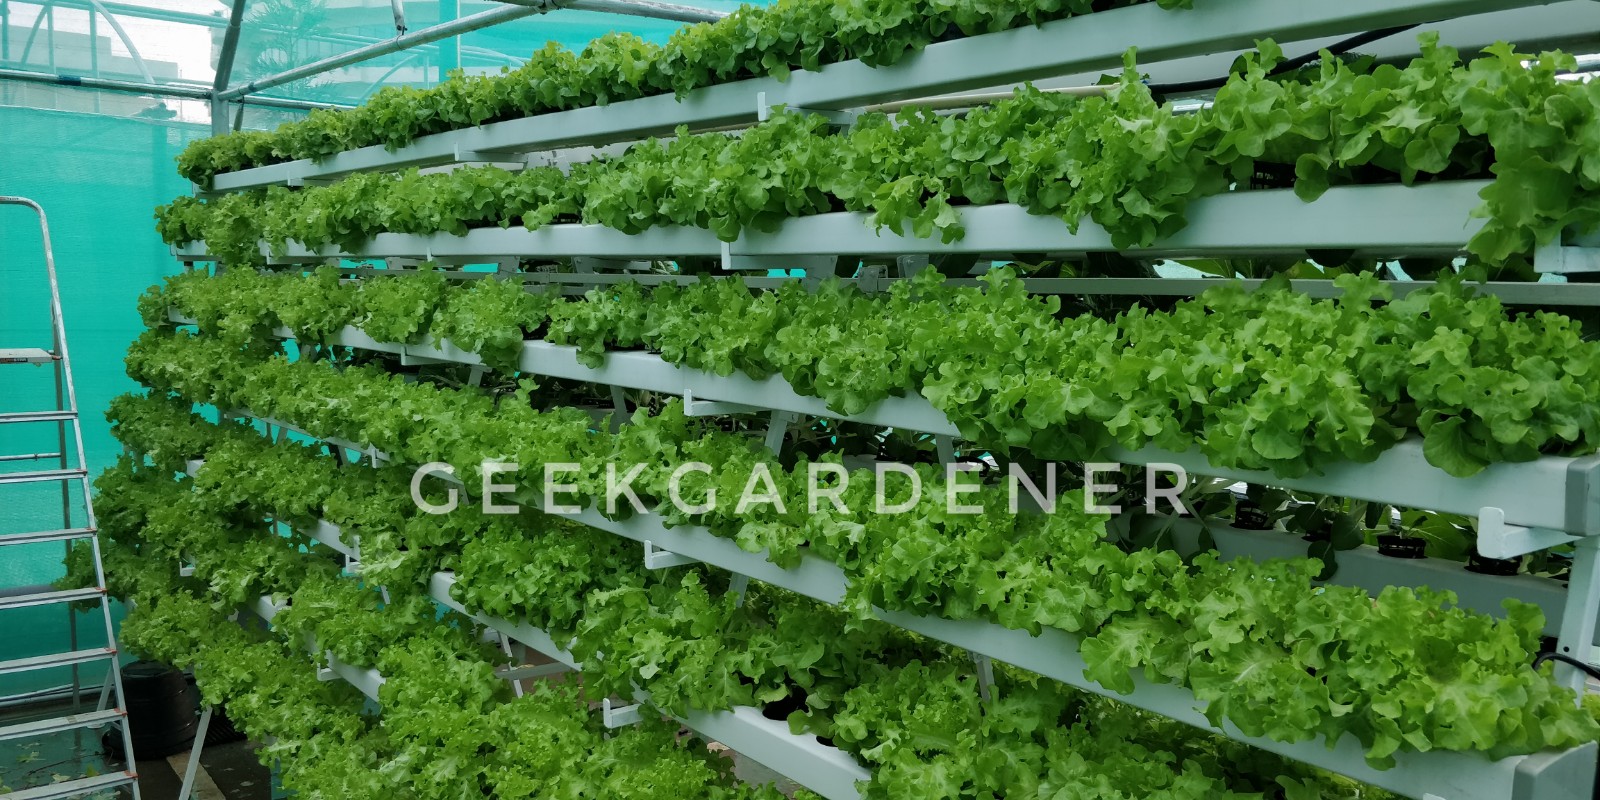
COMMERCIAL HYDROPONICS FARMING IN INDIA
We setup farms that are efficient and Profitable.
Commercial Farming is a great venture to start and We can help you at every stage starting from conceptualization till the first harvest. Whether it is a leafy crop or a fruiting crop, start your farming journey with us. Our team specializes in Soilless agriculture and Hydroponics. Talk to us.

grow your own Food. We can help
Growing guides
From sowing till harvest, every step documented. Here is the growing guide you always wanted!
Our BEST SELLING PRODUCTS
Geekgardener started out as a platform to help people grow their own food. We also help them getting the right product. Below are the products that have built successful gardeners.
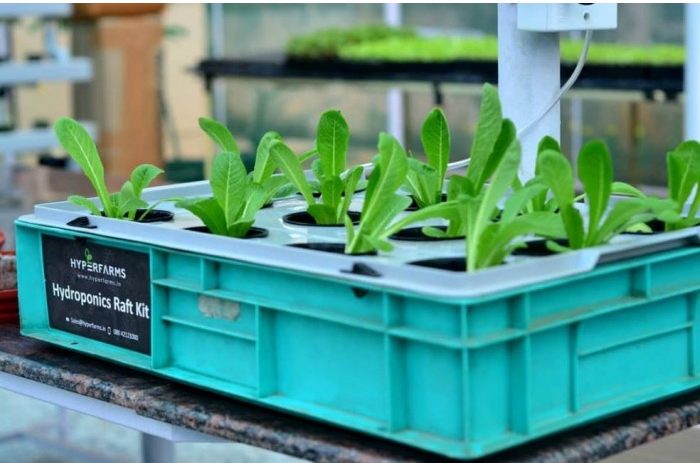
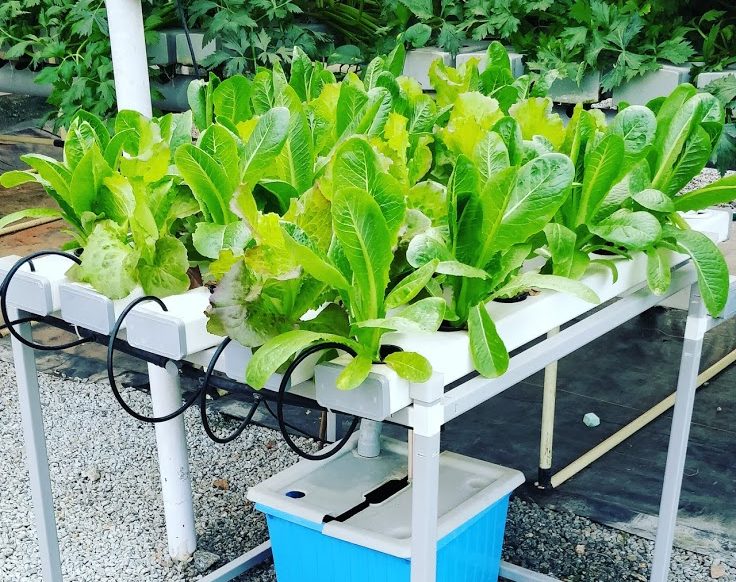
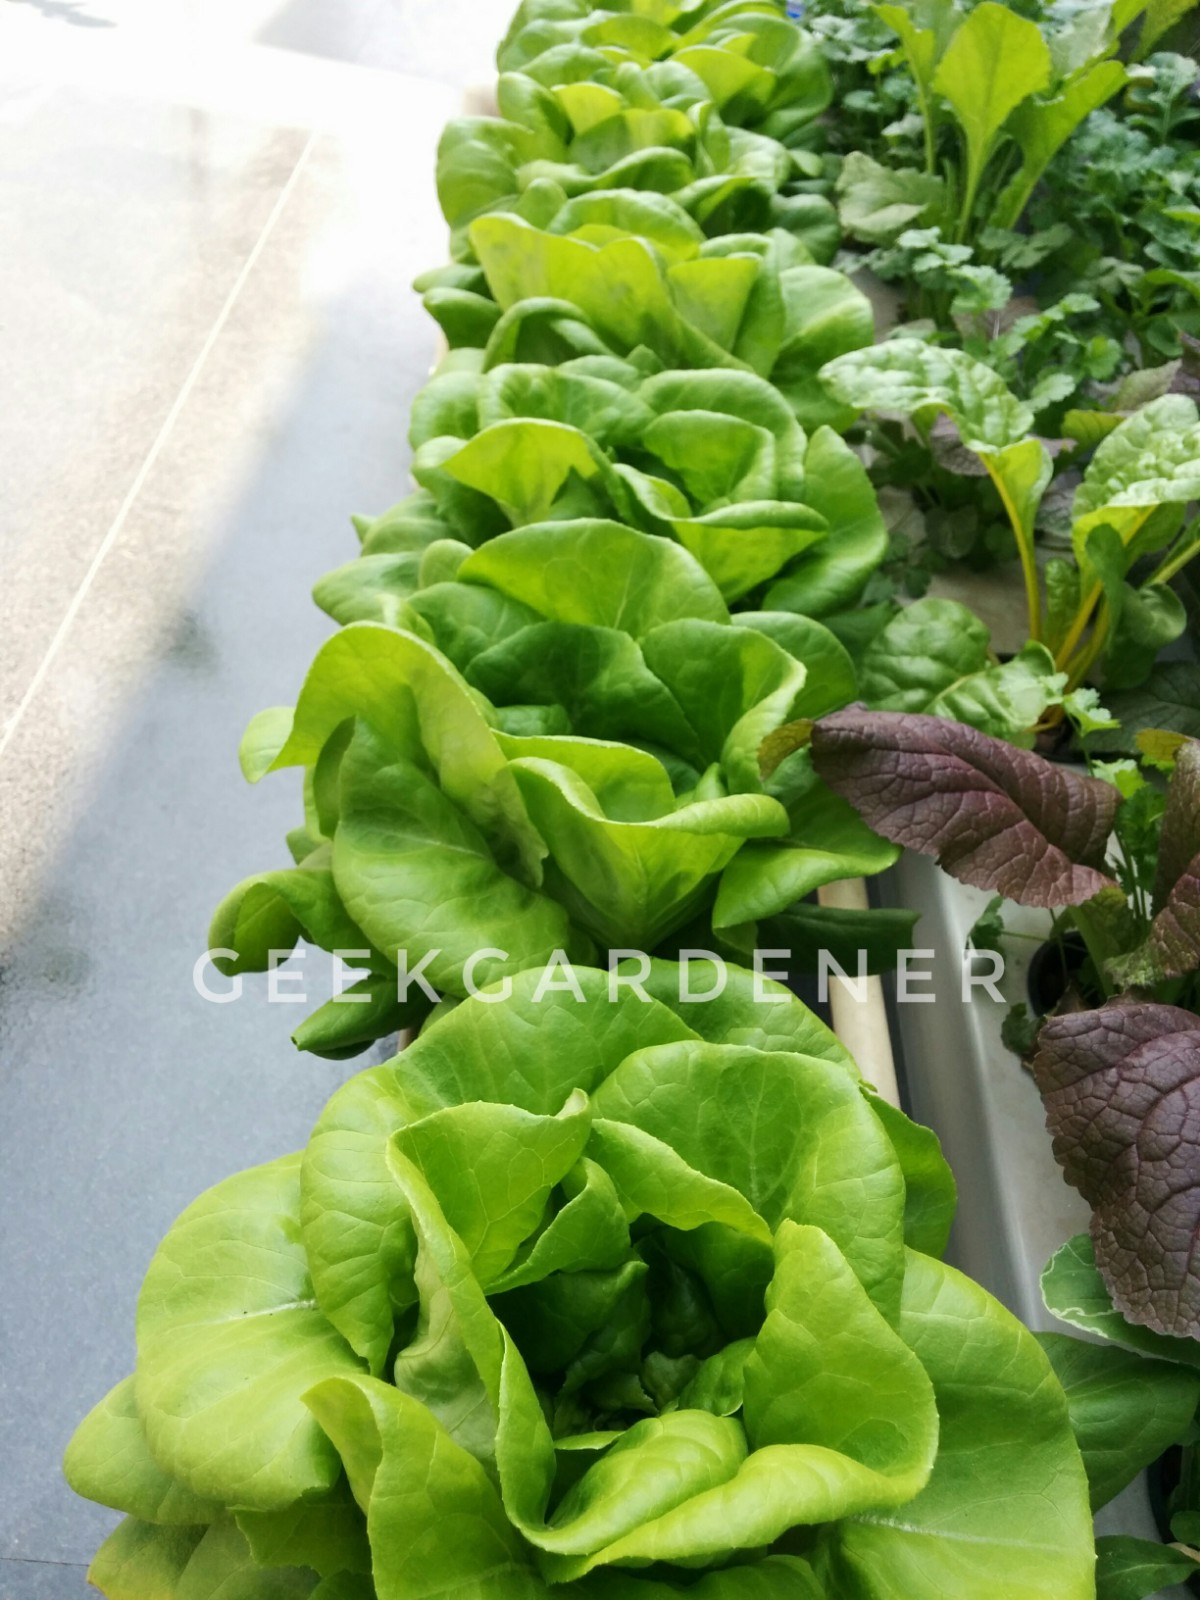
Do-It-Yourself Raft Hydroponic System
This is a compact DIY hydroponic system suitable for beginners who are starting their journey in hydroponics. If you dont have a large space, this is your best option. Just a window sill is enough.
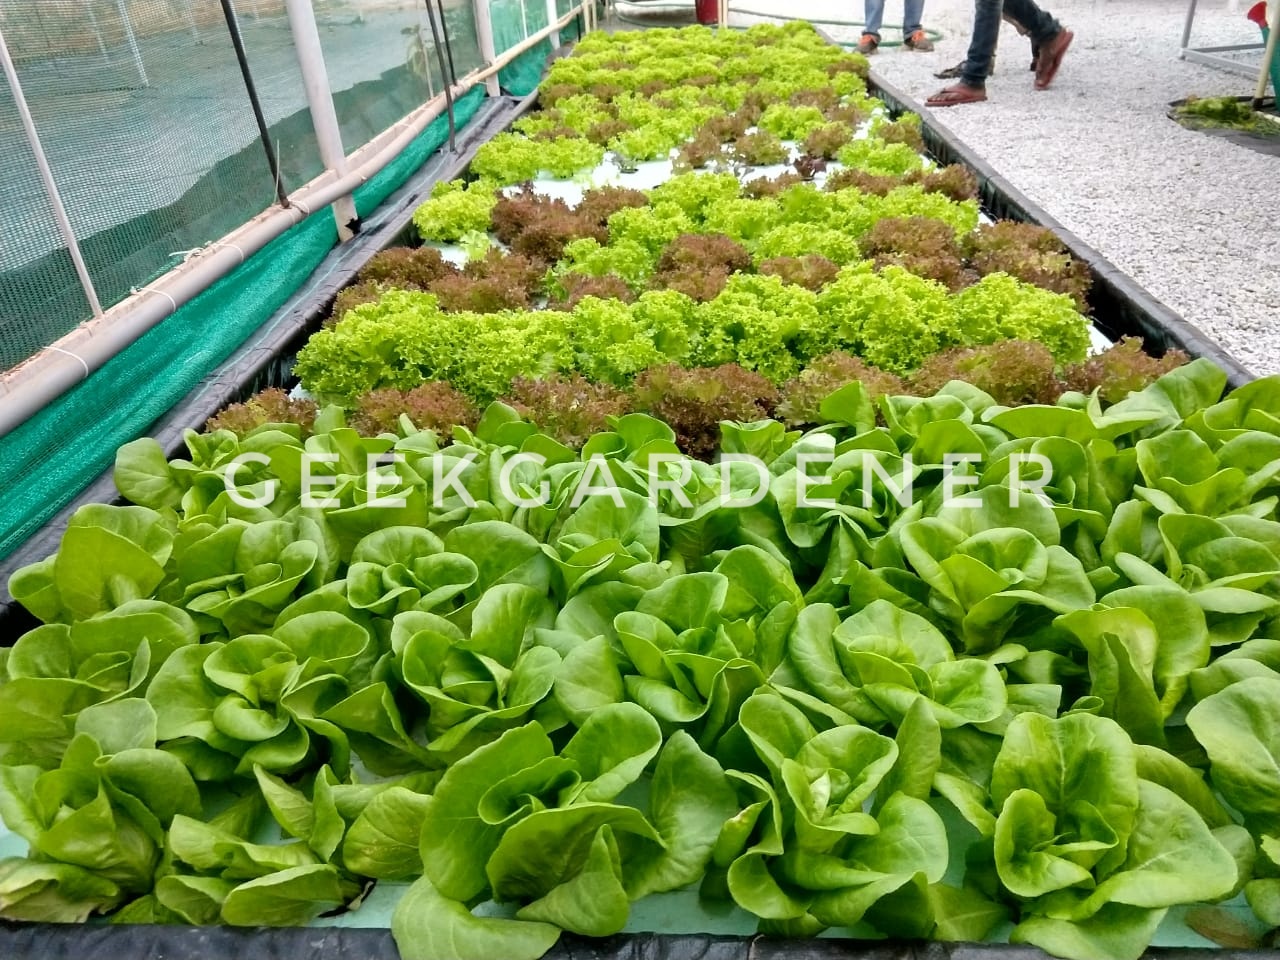
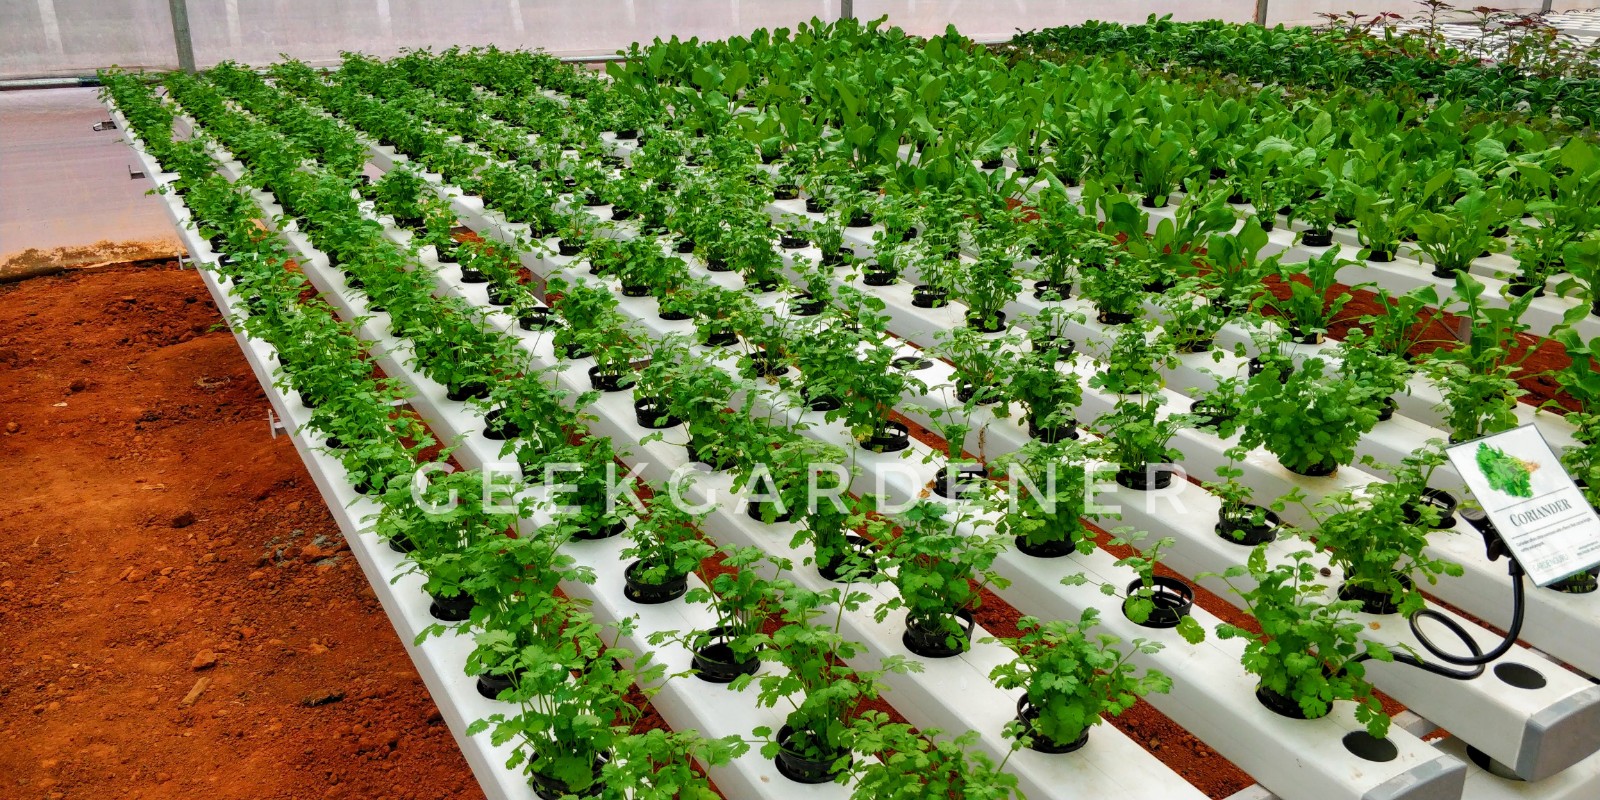
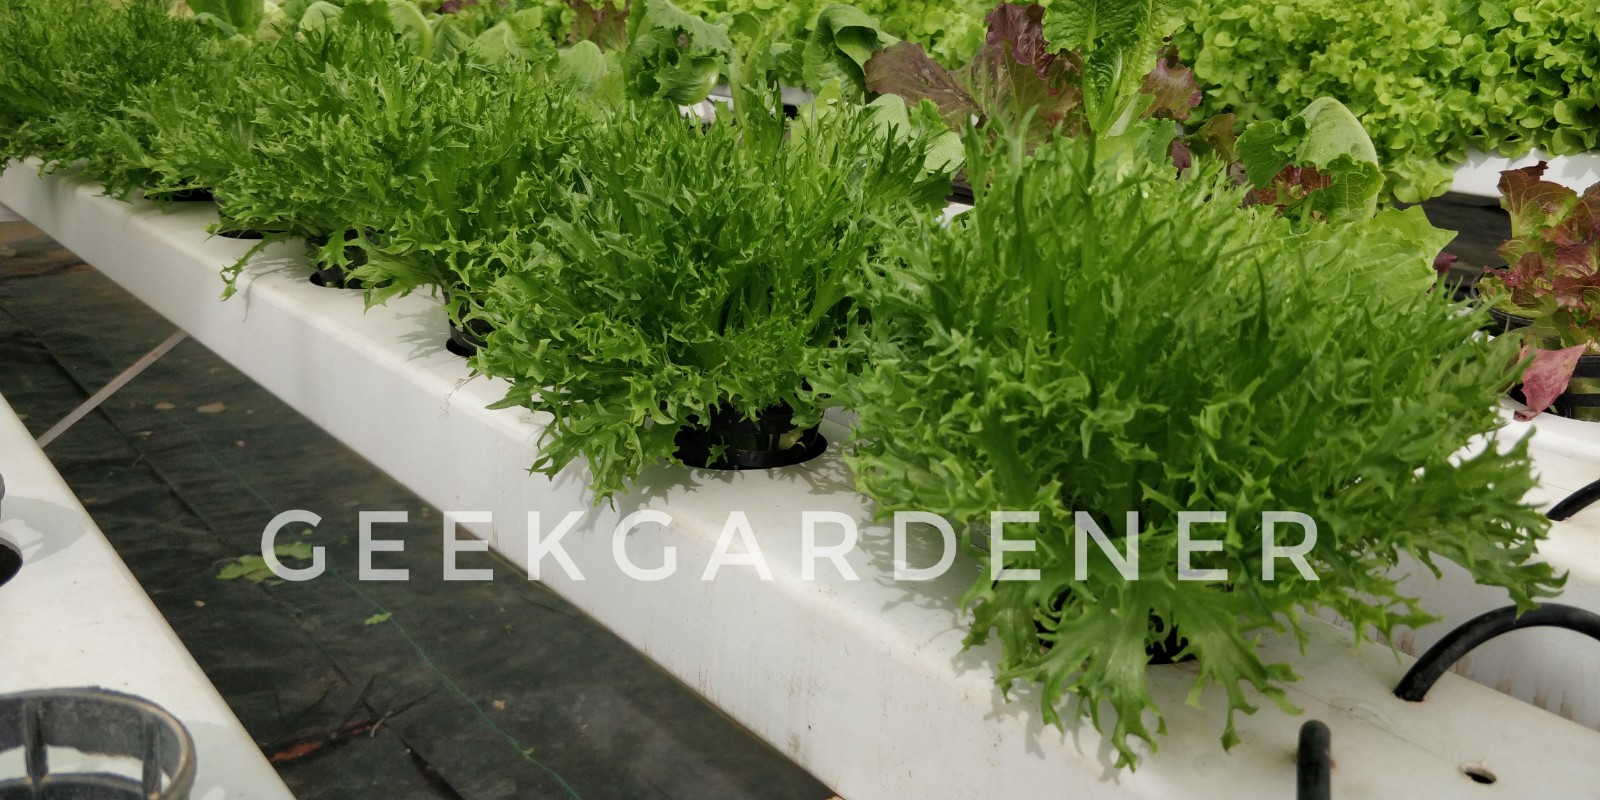
Do-It-Yourself NFT 30 Planter
This is a scaled down version of NFT System that is a defacto standard for commercial hydroponics. If you are planning to go commercial at some point, check this out.
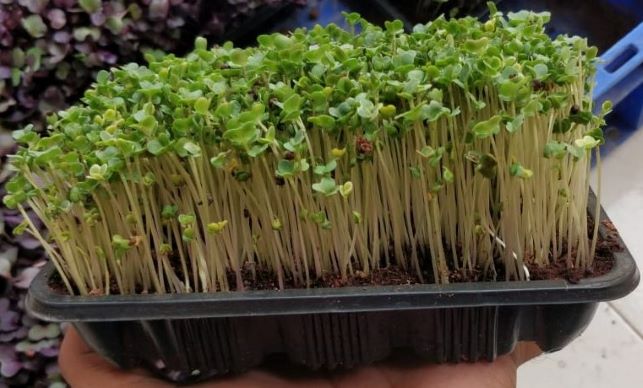
Microgreen Seeds
Microgreens are the latest trend in healthy eating and there is a reason for that. They are super nutrituous and easy to grow.
We have a great collection of microgreen seeds. Check it out.
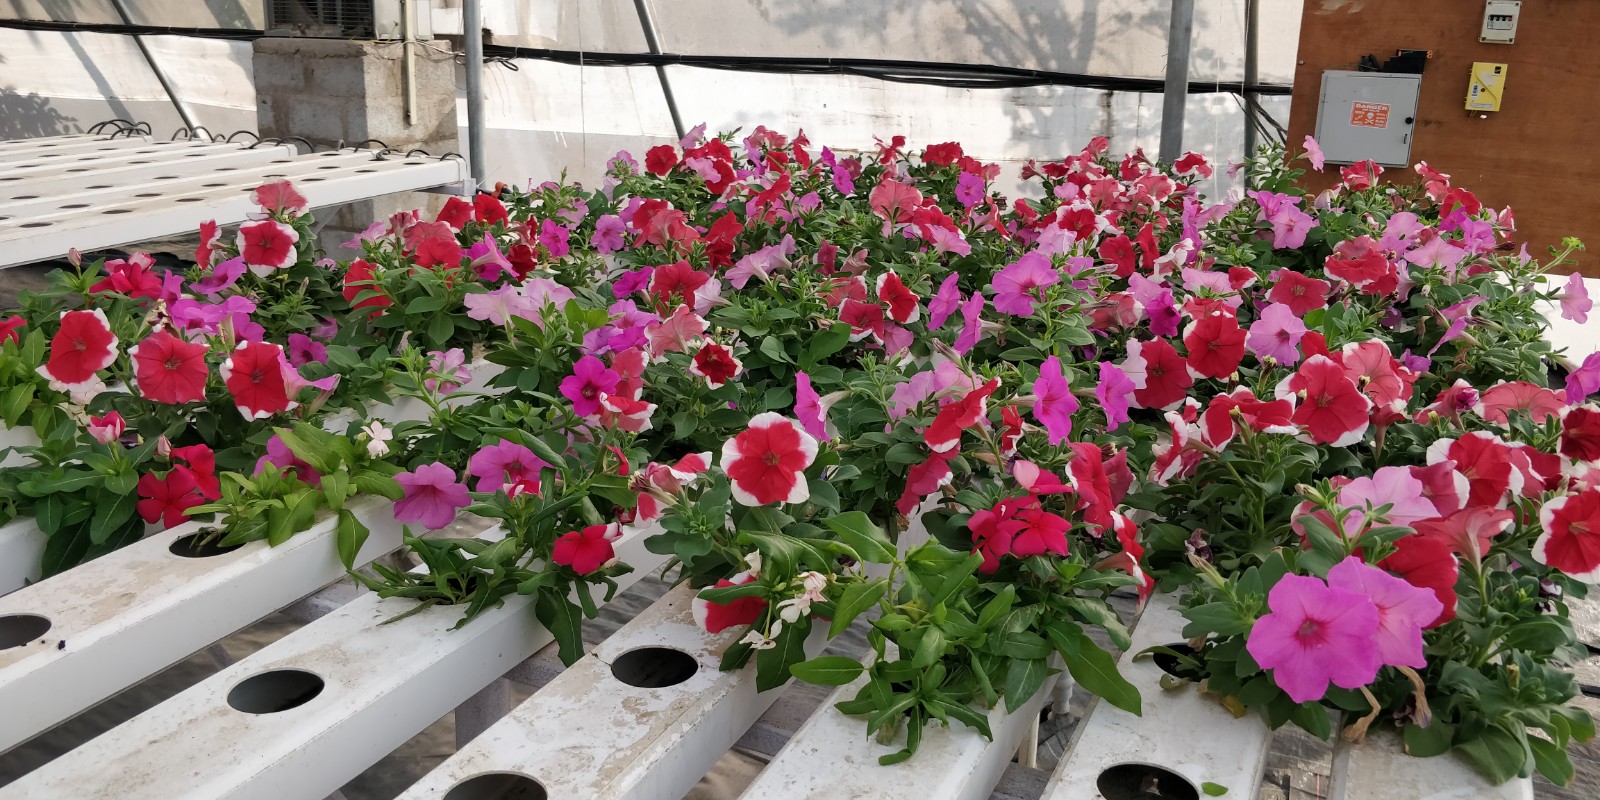
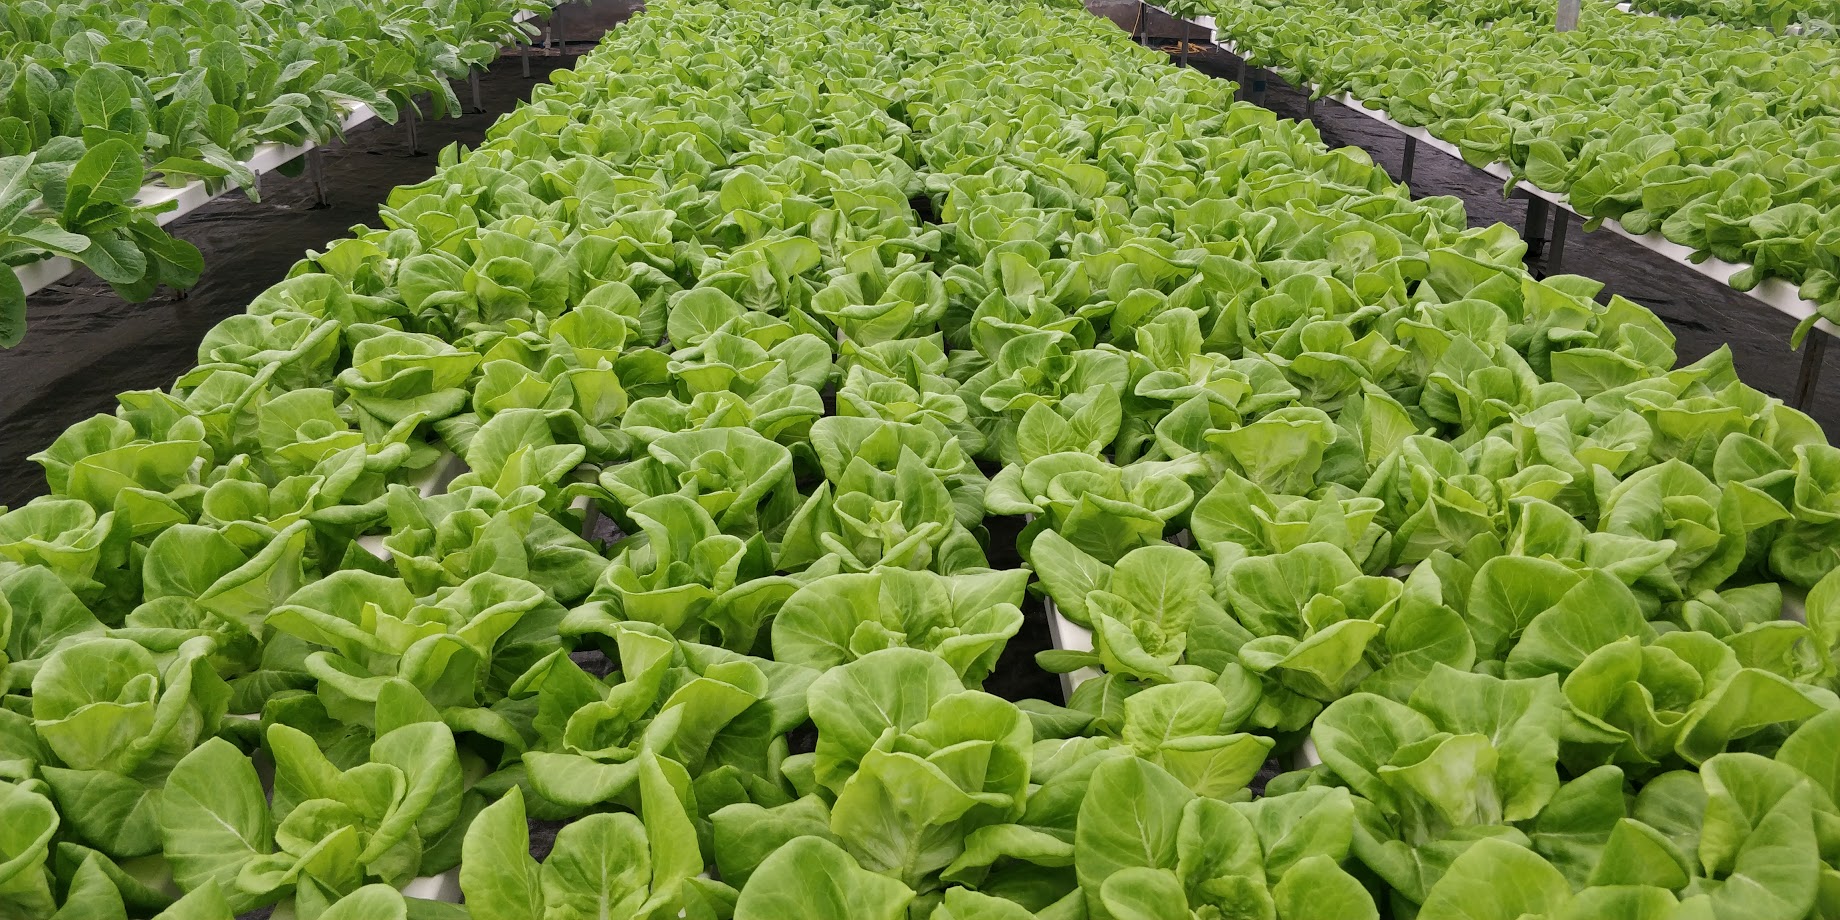
URBAN FARMING PROJECTS IN INDIA
This is one of the things we do best
We started out to make urban farming more efficient, successful and to produce food that is easy to grow and safe to eat. Be it a Balcony or a rooftop, Indoor or outdoor, we have a solution for setting up an urban farm in your spaces. We love creating urban farming spaces that is self sustaining. Talk to us.


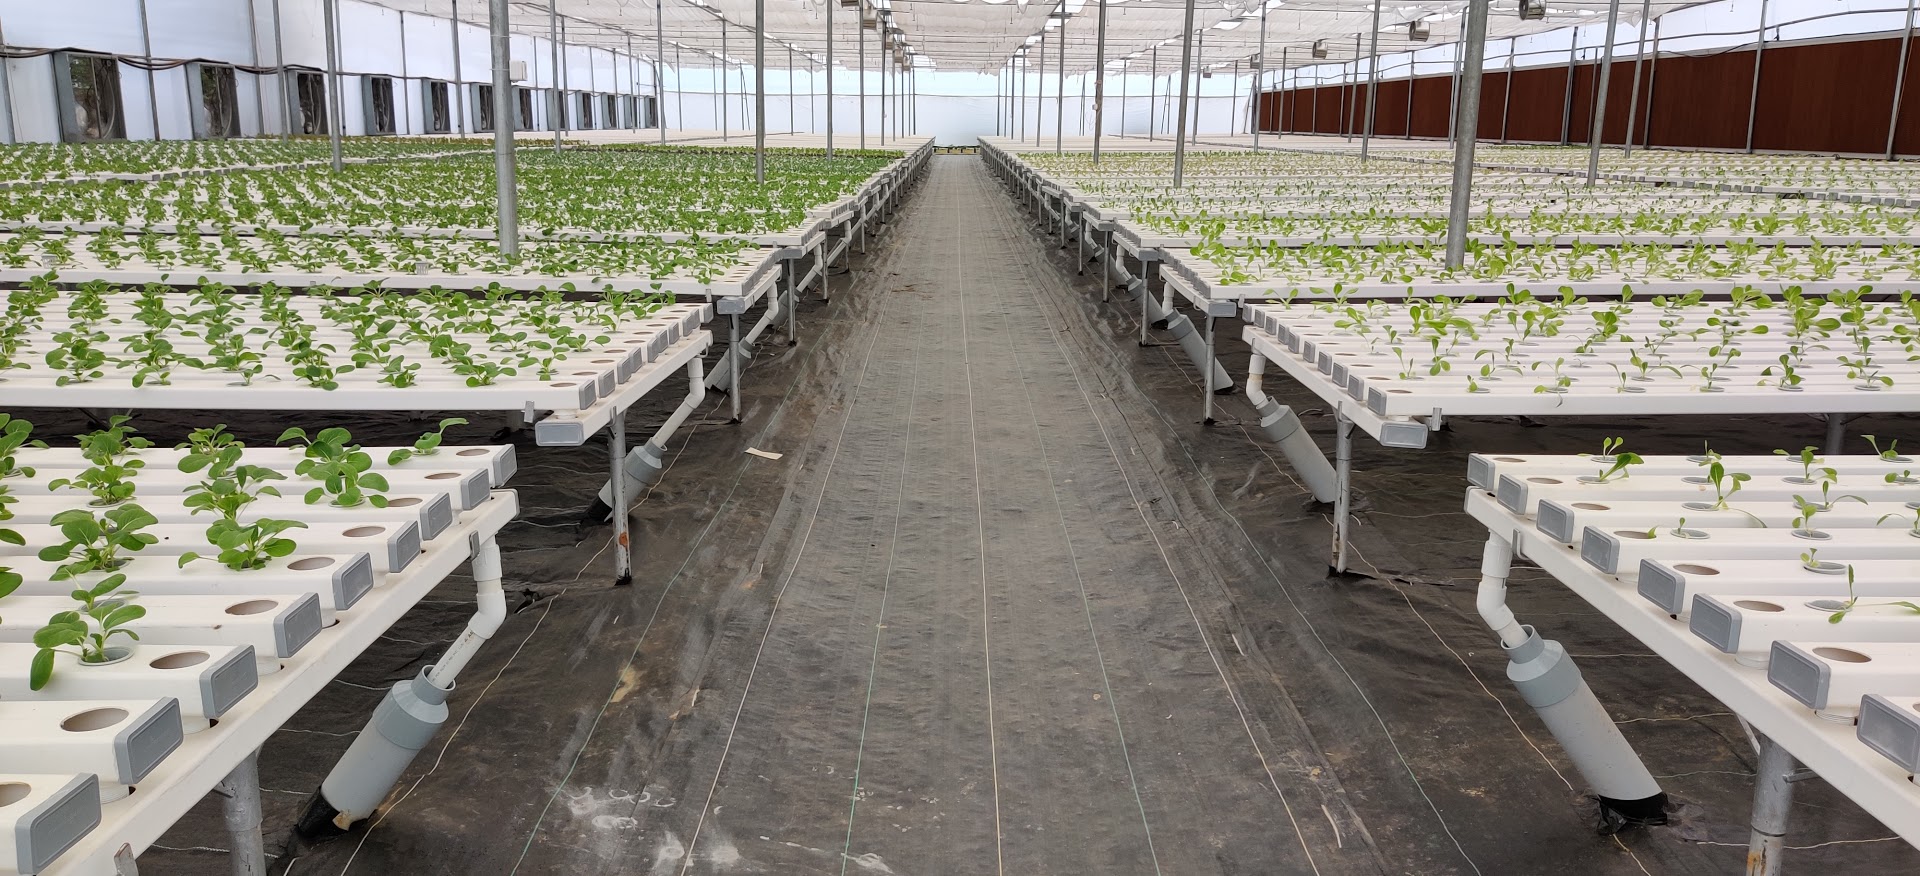

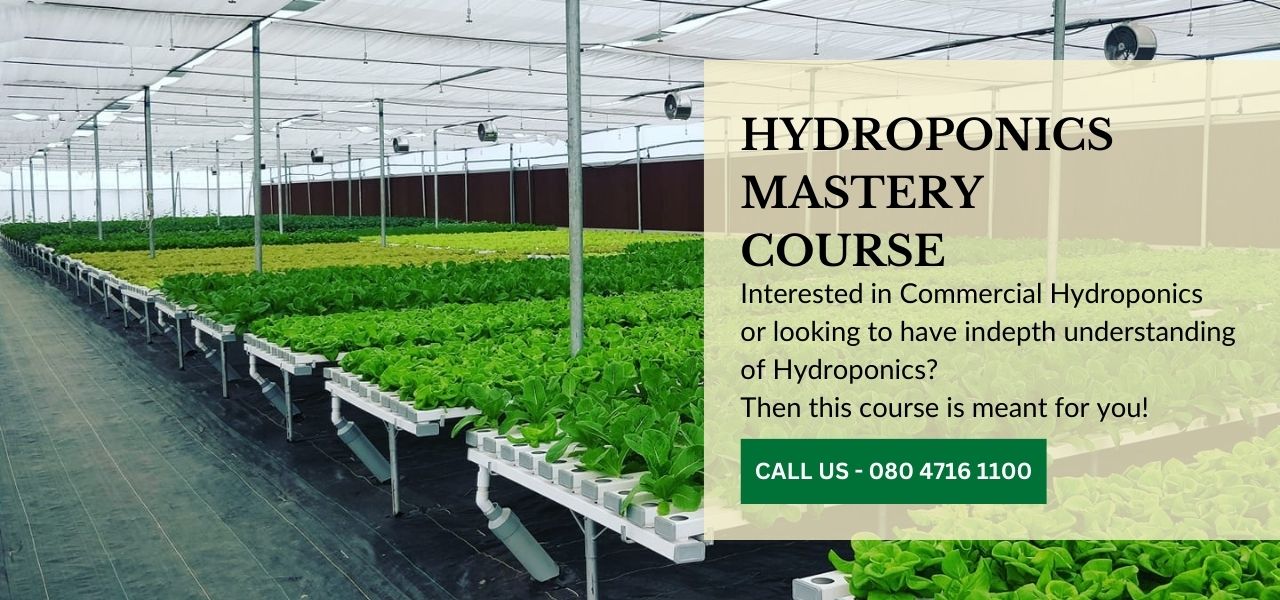
HYDROPONICS TRAINING IN INDIA
The learning never stops
Starting a commercial hydroponic farm can mean a lot to be learnt. With our decade of experience in growing crops commercially, you can learn the tricks of the trade and become an expert in the shortest possible time. Whether it is your rooftop farm or a commercial farm, we can get you up to speed.
Get Hands on training from on all aspects of Hydroponics and grow crop like a Pro.