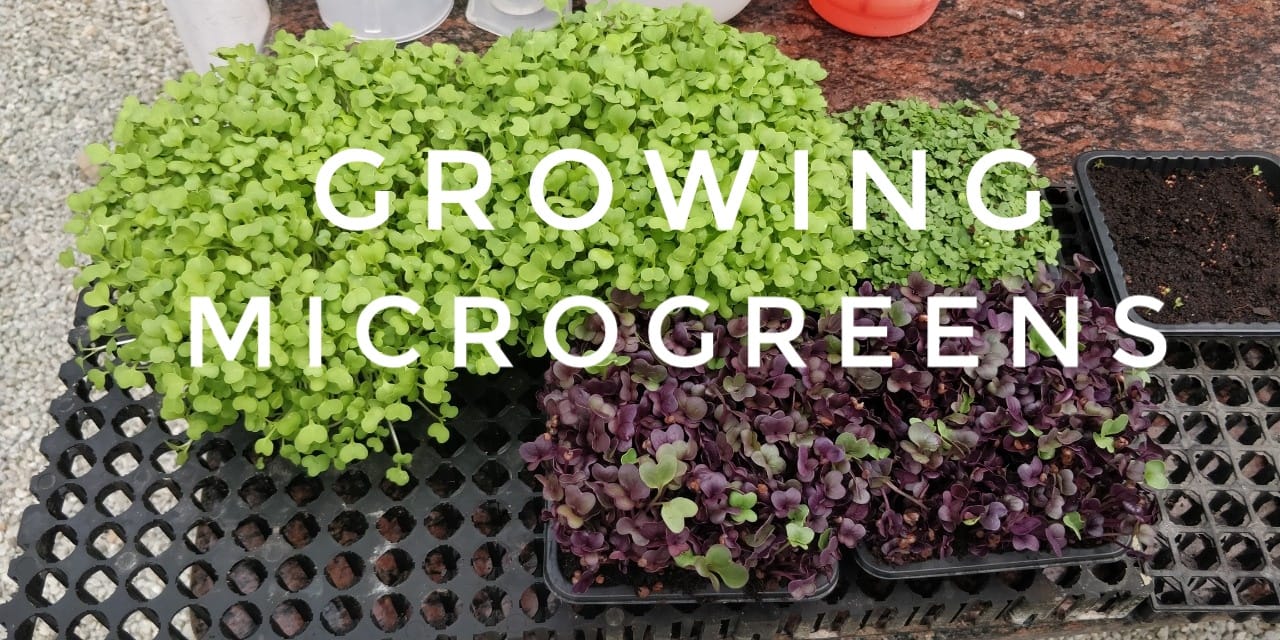
Microgreens are everywhere these days. You see them in the toppings, in the garnishes and hey also in your friend’s Instagram page.
So what is so great about microgreens that makes everyone go gaga over it? The answer is very simple. More nutrition at fraction of a time! Needs very small space to grow Year round production possible Fetches a great price in the market ( several times higher than the larger version of the same greens) Easy to grow I don’t think you need more reasons to grow. Do you?
What are microgreens?
Microgreens are leafy greens that have germinated and their cotyledon leaves are fully open and probably the true leaf is about to show. Simply put, just germinated seedlings are called microgreens. Actually microgreens refers to the stage of the plant life cycle that is just after germination and before true leaf development. In the recent years, researchers have found, microgreens such as Cabbage, cilantro and radish microgreens contain 40 times higher levels of vital nutrients than their mature versions of it. Forget 40x, I am happy with even 2x. Not only they are nutrient dense, they are also flavor dense so, a little goes long way in your dish. Speaking of dish, there are variety of ways one can use microgreens. We need to remember this, microgreens are extremely delicate and tender. They have very high water content, so they don’t handle cooking very well. The best way to consume microgreens is RAW! Like any raw vegetable, they need to be washed well before consuming. There is one thing that is so awesome about microgreens. That is, they are super easy to grow! This article is about growing microgreens at home for fun or profit.
Growing Microgreens
Growing microgreens is super easy. If you have started vegetables from seeds, you have already done this several times. When you started your seeds, you were told to give proper spacing because you need to transplant the seedlings once they germinate. With microgreens they are harvest just after they germinate, so there is no thinning needed. Sowing thick is the way to go for microgreens. Lets take a look at what all you need to grow microgreens.
- Seed starting mix for growing microgreens or a microgreens fabric or a mat.
- Microgreens seeds
- Shallow Tray with drainage holes.
- Ventilated place to keep the trays.
- Wet towels or polythene sheets.
Seed starting mix
Growing microgreens is pretty much the same as germinating a seed. A good seed starting mix will avoid many issues. My recommendation for media mix for microgreens is Cocopeat. Just cocopeat and nothing else. If you require, you can add some good well decomposed compost. Ensure this compost is from a good source. It should be weed free and clean. Possible alternatives
- 100% cocopeat
- 50-50 Cocopeat and Compost
- Mats, Felt etc.
There are also several companies selling mats, felt or capillary sheets that will house the seeds when you germinate them. You can use that too. Personally I feel cocopeat is much easier to find and more sustainable. But if you think small pieces of cocopeat is gonna come in the way and makes washing difficult, go for mats.
List of Microgreens
- Radish green
- Spinach
- Beetroot
- Kale
- Cabbage (Red and Green)
- Broccoli
- Bok Choy
- Cilantro
- Radish Red Sango
- DillMicrogreens Seeds
- Carrot
- Pea shoots
- Sun flower
- Methi
- Watercress
- Basil
- Alfalfa
- Wheat
- Chia
and the list goes on
Which seeds to use for microgreens?
This is a very popular question among beginners. The question arises from two standpoints. One is with respect to the quality and the other with price.
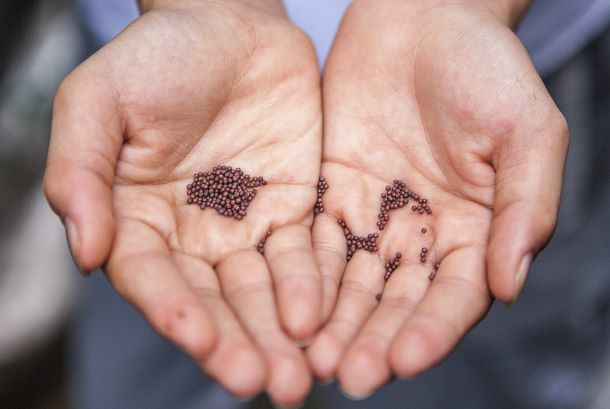
Microgreens seeds price
Lets attack the price point first. Say you are looking to buy broccoli microgreens. To grow broccoli microgreens, you will typically require 10-20 grams of microgreen seeds. The typical broccoli seeds that are used for kitchen garden packets will contain around 100-200 seeds and will cost you somewhere between 100-200 INR. You cannot use the kitchen garden packets seeds for microgreens as the costing simply wont be sustainable. You need to look at seed suppliers that sell seeds for microgreens purpose. There are many microgreens seed companies in India that sell in bigger quantities.
Microgreens seeds quality
When buying microgreens seeds you need to ensure the following.
- Seeds should be untreated – This is very IMPORTANT. Generally seeds meant for kitchen garden purpose are treated with a chemical called Thiram that keeps pests and diseases at bay. The seeds that are meant for microgreens purpose should not have any treatment at all. This is because when microgreens are harvested they are very tender and some seed coat might stick around. Having chemicals stuck on it is a big NO.
- Seeds should be pure – The seeds should be from a good source so that you won’t get any other plants mixed with the seeds you are buying. We don’t want weed seeds mixed with microgreens especially when we pay a higher price.
How to grow microgreens at home
Ok. In the steps above, you got an idea about choosing your microgreens seeds and what media / mat you need to grow microgreens in. In this post, I am gonna explain how I do microgreens using cocopeat. My choice is cocopeat because, cocopeat is readily available. That is one less excuse to not start 😉
Step 1 – Prepare the media
- Take a tray or a punnet
- Punch few holes in the bottom.
- Fill it up with seed sowing media upto 1-2″ deep.
- Pat it well so that there are no air pockets.
- Spray some water on the top of the cocopeat so that it becomes moist.
If you did it right, it should like this
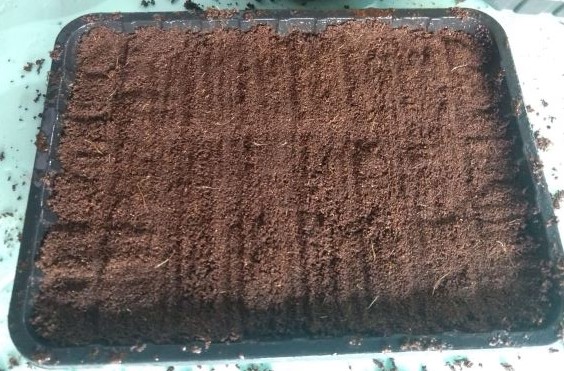
Microgreens tray with cocopeat media
Step 2 – Sow the seeds
- This step is the actual sowing part. Gently sprinkle the seeds on top of the surface of the media so that they are evenly spread. Sometimes it is very difficult to get the seeds to spread evenly. Try your best!
- The water spray we gave the step 1 towards the end, will ensure the seeds stick to the surface and not move around.
- The seeds after they are sprinkled, will look something like this
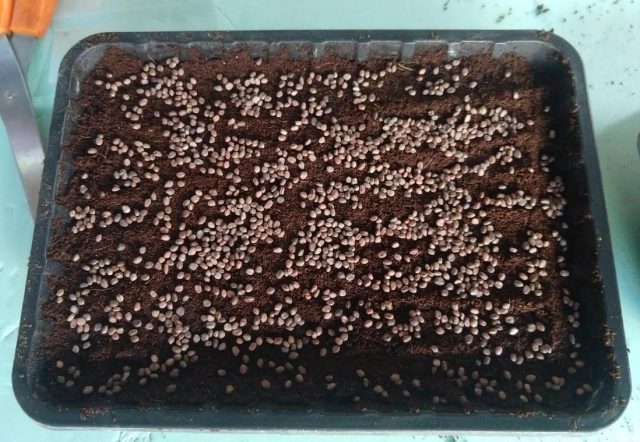
How to sow microgreens in Cocopeat
Step 3 – cover the seeds
- Gently cover the seeds with cocopeat about half an inch on top of them and press the top well to ensure there are no air pockets or loose cocopeat.
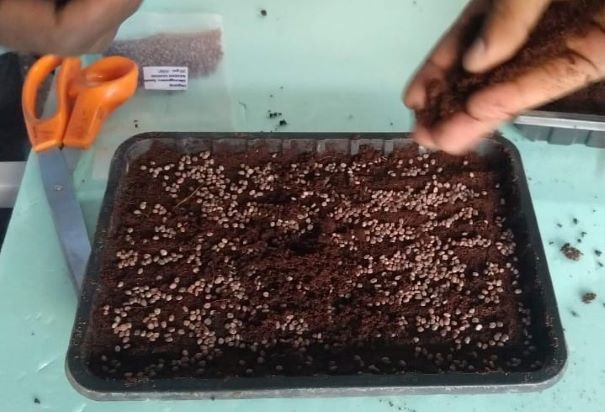
Cover the seeds with cocopeat about 1/2 an inch thick.The above is an image of filling in progress. When fully covered, you wouldnt be able to see the seeds.
Step 4 – watering the container
Using a spray can, spray water on the top of the cocopeat thoroughly moistening the mix. Once this is done, the top of the tray can be covered with a wet towel or a newspaper. That’s all. The sowing process is complete.
What to expect when you are sowing microgreens?
After the sowing process is over, place the tray in a well ventilated place away from direct / harsh sunlight. Keep checking the moisture levels on the top of the surface and if it is looking slightly dry, give it couple of sprays of water. Letting it completely dry will result in death of all the plants. In about 3-4 days, you will see small roots popping out of the seeds. It will look something like this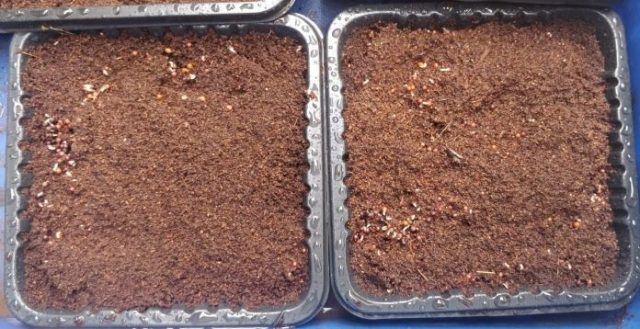
Microgreens seeds germinationAt this point, continue to spray water on the surface of the cocopeat and ensure you thoroughly moisten the media. A couple of days later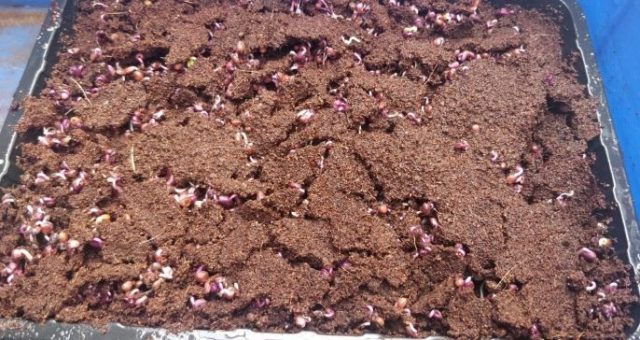
Growing microgreens Step by stepIf you observe, the seeds will start to lift the growing media that covers the seeds. It is normal and if you spray water on the media, it will break apart and allow the seedlings to come to the surface. After a day or two you will get this
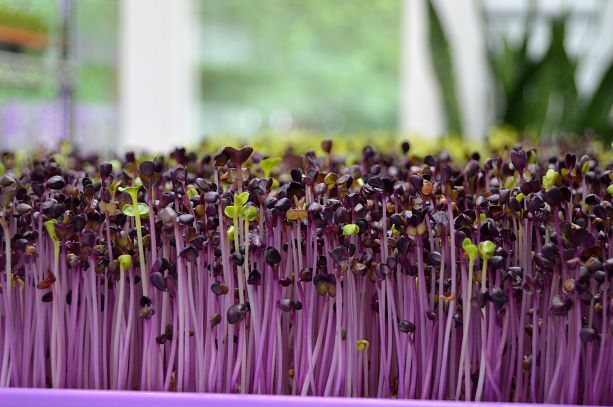
Radish Red Sango Microgreen SeedsDont forget to keep spraying and ensure the media doesn’t dry out. Microgreens are very delicate and cannot handle lack of water. A fully grown microgreens tray that is ready for harvest will be something like this.
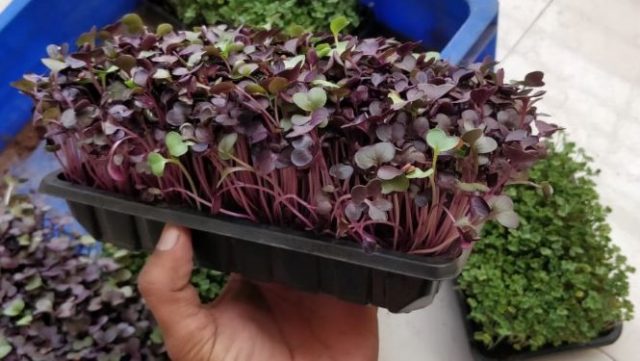
Red Sango Radish Microgreens Ready for harvest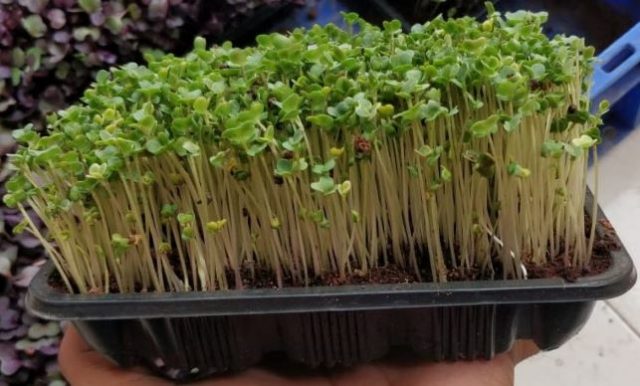
Microgreens ready for harvestHere is a video I made to help you understand how to grow the microgreens.
Frequently Asked Questions on Microgreens
- Should I soak the microgreens seeds before sowing? It helps in hastening the germination but it is not necessary.
- Can I use the seeds available in grocery stores for growing microgreens? – Yes you can as long as they are sold for edible purpose
- Can I grow microgreens year round? – Yes, you can but depending on the temperature, some seeds may take longer time.
- Can I use treated seeds for growing microgreens ? – Absolutely not. Use only untreated seeds.
- Can I reuse the growing media for subsequent batches? Yes, as long as the previous batch didnt have any rotting or fungal diseases
- I see some microgreens dropping. What could be the reason? – Damping off is the reason. Fungal infection caused by Pythium. Discard the cocopeat and use a fresh batch. Wash the container well before reuse.
- Do I need lights to grow microgreens indoor? – Till the germination happens, microgreens dont need light but once they germinate it is essential to expose them to light to avoid lanky seedlings. Alternatively it can be harvested before it reaches that stage.
- Microgreens are too tall, lanky, leggy, stretched.Why is it happening? – Lack of sufficient light, especially if you are growing indoors without supplemental light and kept too long without exposing to light.


11 Responses
The subject of growing microgreens is very well explained in details embracing all practical aspects and hence it sure helps the beginners.
Thanks for your comment Mr Parekh. Glad you liked it.
When using 100% cocopeat for growing microgreens, would it be required to spray nutrient water?
Not required for germination. But it does help if you irrigate it with nutrient water.
Where can I get microgreens seeds in Hyderabad
Not sure where you get in hyderabad. We ship seeds all over india. Please check out https://gardenguru.in/133-microgreens-seeds-online-india
How much would it cost ( approx price )for me to start a hydroponics business including all the expenses.
Sir please drop a mail to my Gmail
karthikgowda4189@gmail.com
I want to explore more information about microgreen technology.
[…] The time can vary from person to person so don’t take this as a rule, rather as a guideline. Use your own notes and experience as a reference.https://geekgardener.in/2019/05/31/how-to-grow-microgreens/Arugula […]
Just wanna say thank you the way to explained…
Second are you on Instagram.
NANRI
Thank you. Yes i am on Instagram https://www.instagram.com/geekgardener/